Manager Webapp
Overview
The Manager is a web application that facilitate usage of BlurIt OP by providing a GUI to non-developer users. It also provide an history of taks processed by BlurIt OP, wether thoses tasks have been created from the Manager or from the API.
Access
You can access the Manager by visiting http://<HOST> or https://<HOST>, where HOST is the IP address of the machine or the dns url configured in the Configuration section.
License activation
Before using BlurIt OP, you must activate the license.
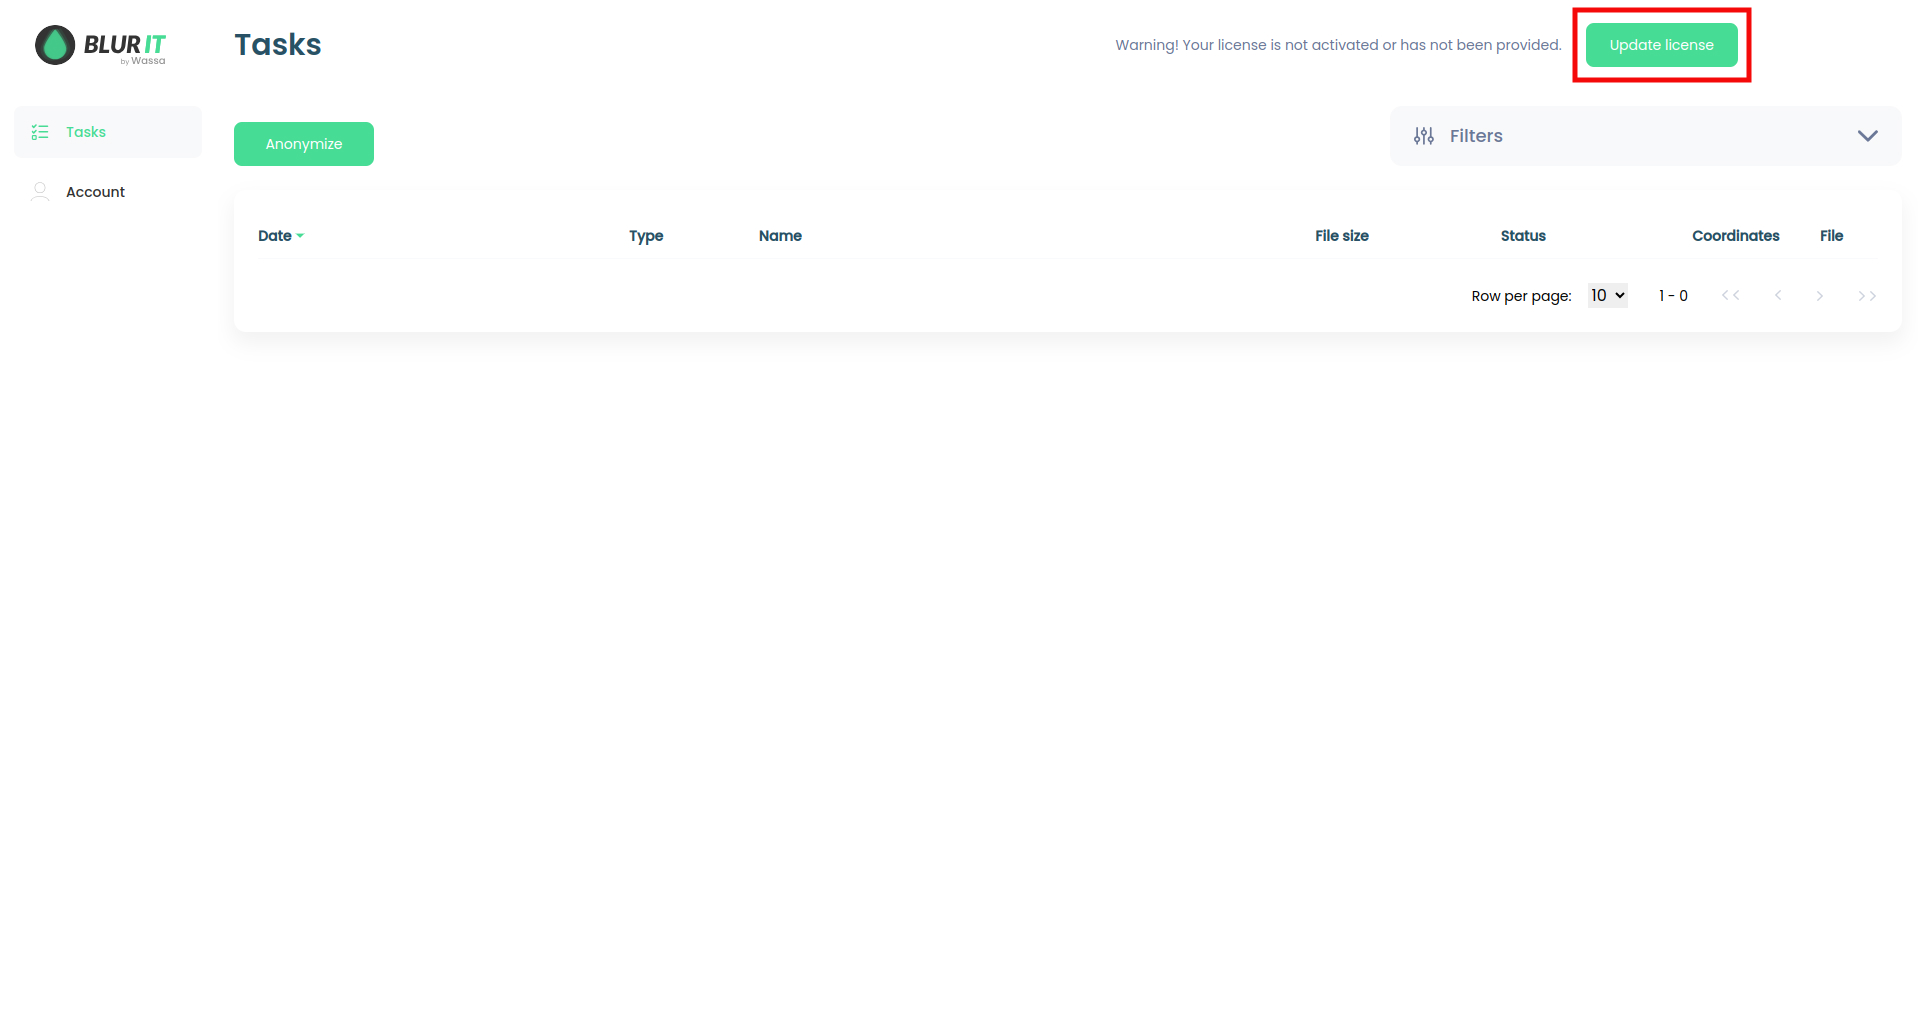
Once you're on the Manager, click on the "Update License" button located at the top right corner of your screen.

After navigating to the Account (/account) page, click on the "Edit license" button. Next, paste the license into the designated text area and confirm the changes by clicking on the "Update license" button.
Tasks
Create a task
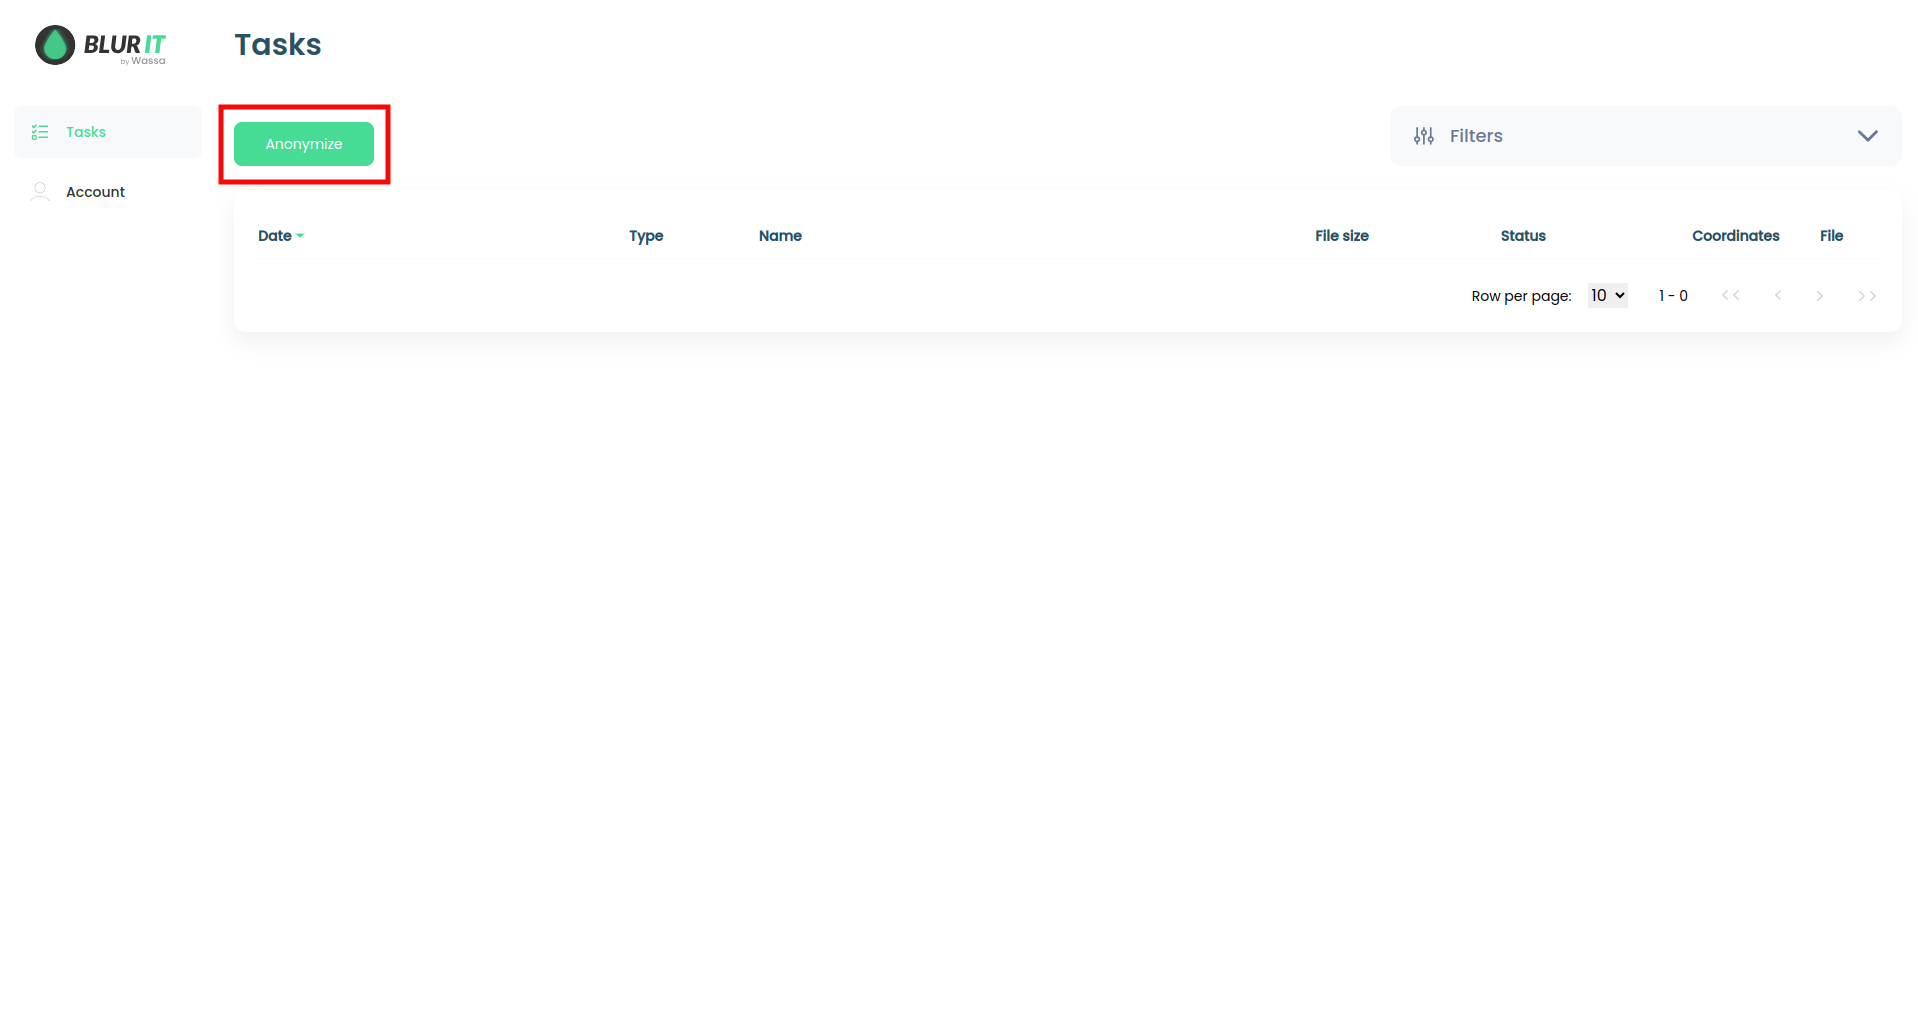
To start a task, go to Tasks page (/tasks) by clicking on side menu "Tasks" and click on the "Anonymize" button.

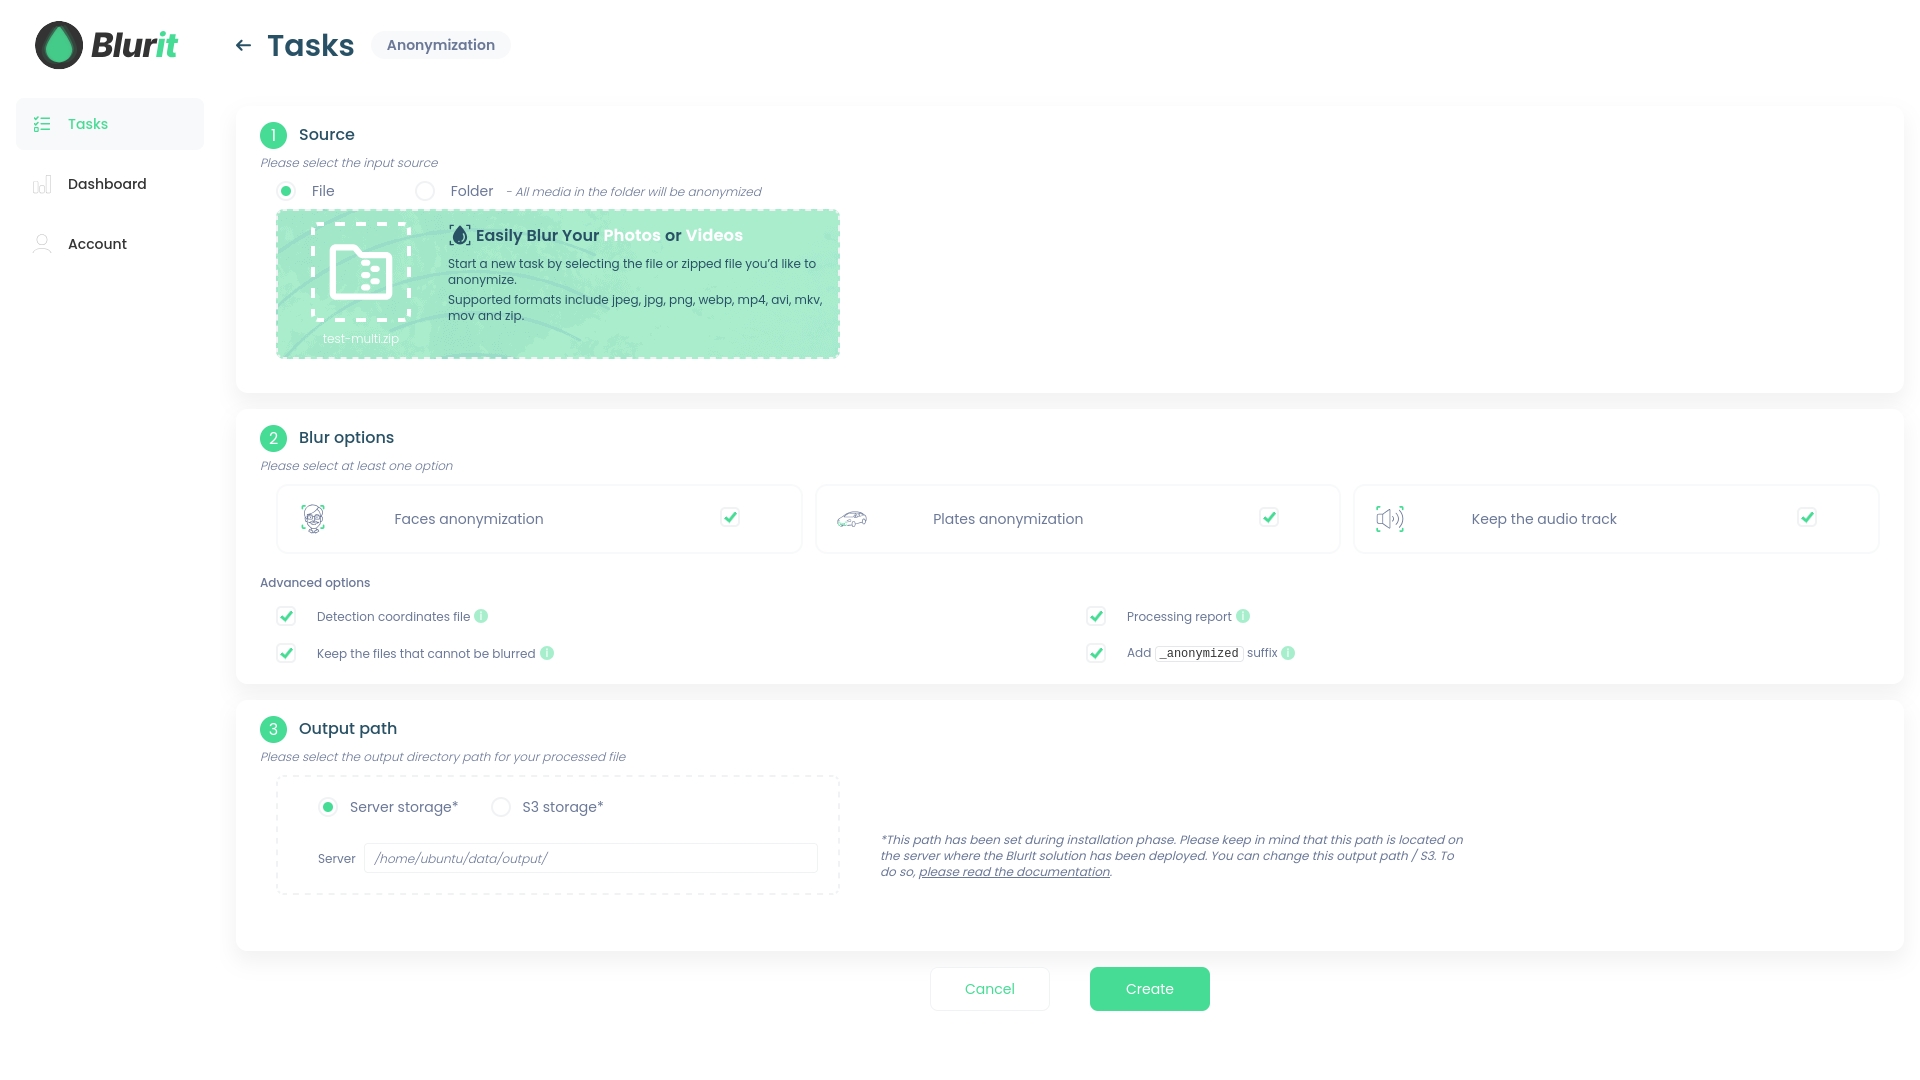
You can now follow 3 simple steps to create a new task:
Source: Choose either a file from your PC or a whole folder to process from the local storage or S3.
To process a file from your PC, use the file selection option or simply drag and drop the file into the designated area.
To process a folder, enter its path in the field. The path you enter represents a subdirectory of the
LOCAL_STORAGE_INPUT_PATH(orSTORAGE_S3_BUCKETif you use S3 storage) set in the Configuration section. Please ensure that the directory already exists and has some files in it. If you don't enter anything, BurIt OP will process files directly inLOCAL_STORAGE_INPUT_PATH(orSTORAGE_S3_BUCKET)
Blur options: Select the desired task options from the following choices:
Face anonymisation
Plates anonymisation
Coordinates position
Add
_anonymizedsuffixKeep the audio track (only for zip/directory/videos)
Processing report (zip files only)
This option allows you to include in the ZIP file a CSV summary indicating the anonymization success status for all the files that were part of the original ZIP
Keep the files that cannot be blured (zip files only)
This option allows you to keep, within the anonymized ZIP, the files with unsupported formats that cannot be processed by the software
Output path: Specify the desired output location, whether it's local storage or S3. You can either change the name of the output file or create a new directory in the output to store your processed media. As for the source, the directory you enter here represents a subdirectory of
LOCAL_STORAGE_OUTPUT_PATH(orSTORAGE_S3_BUCKETif you use S3 storage). If you don't enter anything, BurIt OP will save processed files directly inLOCAL_STORAGE_OUTPUT_PATH(orSTORAGE_S3_BUCKET)

Click on the "Create" button and confirm to initiate the task.
List tasks
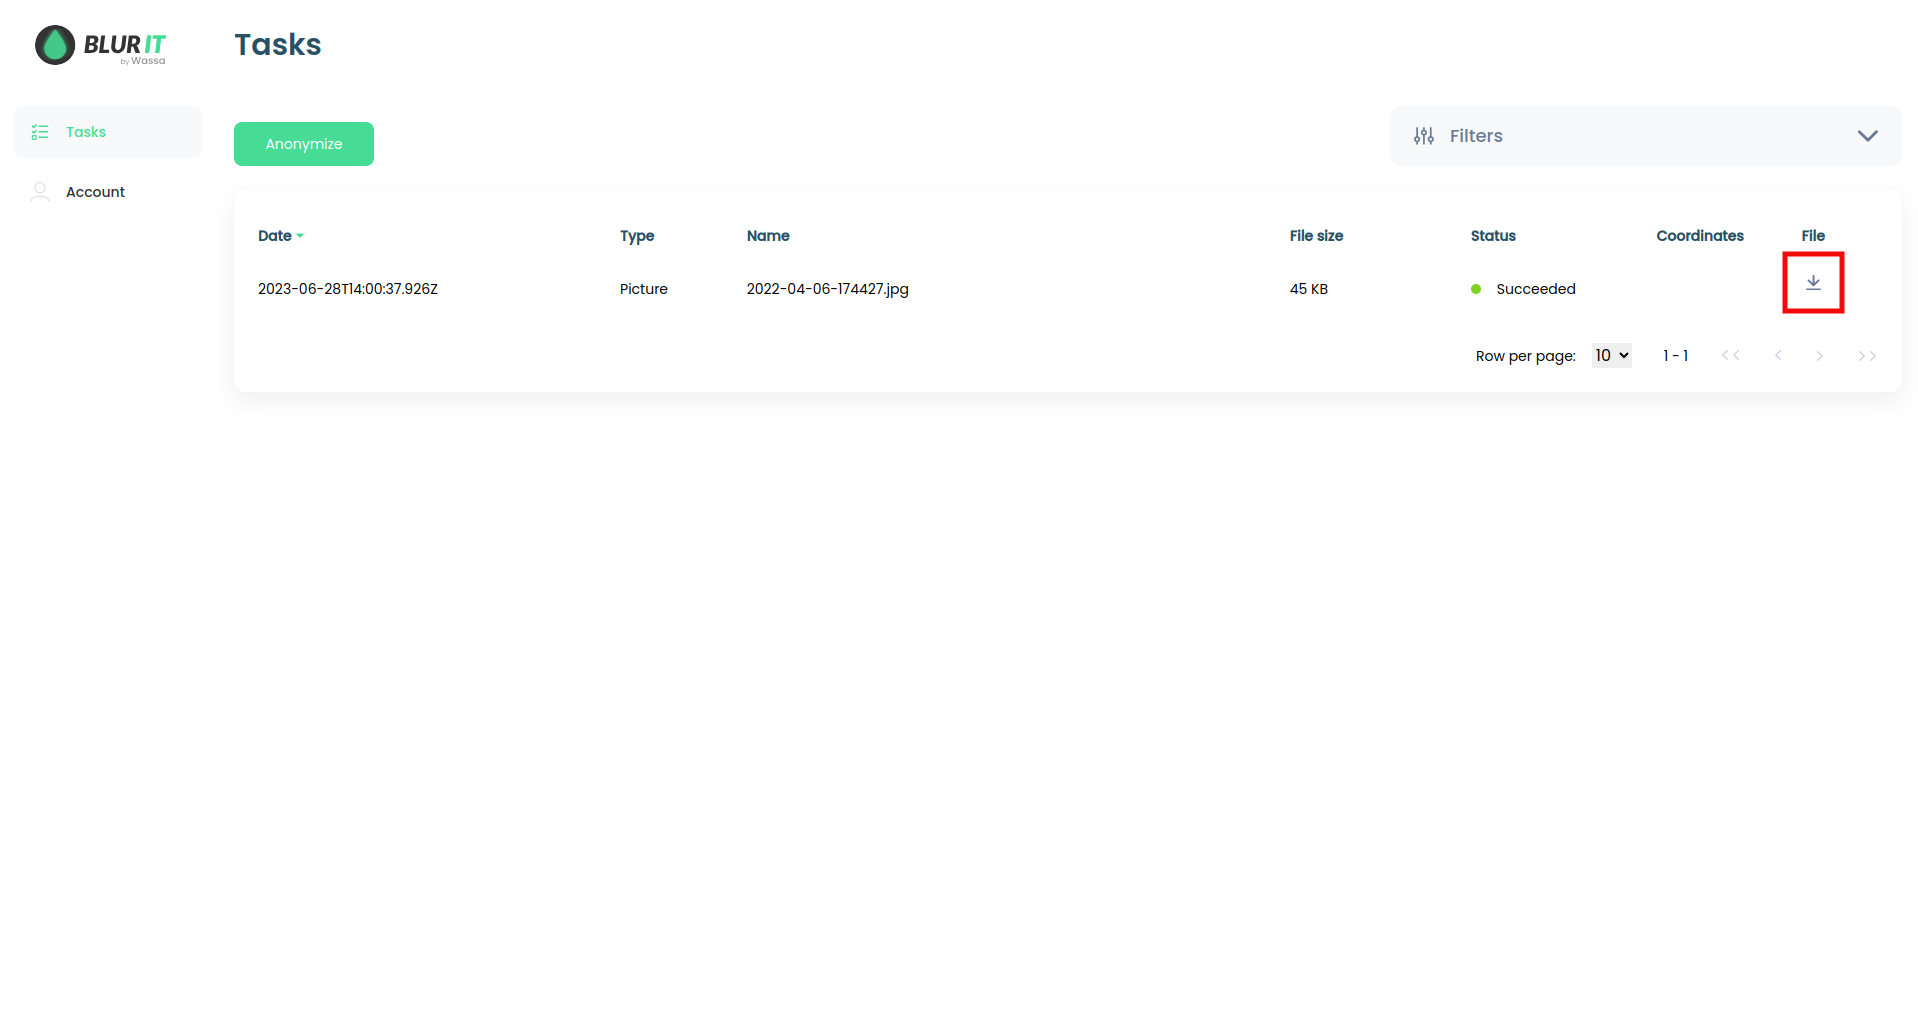
The Tasks page list all the tasks that have been created in BlurIt OP (using the Manager or the API). For each task, the Manager displays:
The date
The type (Picture, Video or Archive)
The file name
The file size
The task status (updated in real time)
A button to download the processed file
The list can be filtered.
Download processed files
From the Tasks page, click on the download icon located in the file column.

Using The Redact Tool
The Redact Tool allows you to access all detections within your media (image or video) so you can adjust, add, or remove them as needed — all while staying within your local environment.
Access
Once your file (image or video) has been processed, you can edit the detections by clicking on this icon to access the redact tool.

Once done, your media will appear along with all the detected elements.

Adjusting Detections
Adjusting a detection Click on the detection of your choice. You can resize or move it on the frame as needed.

Deactivating a detection Click on the detection to turn it from green to gray. It will no longer be applied to the image or video. You can also deactivate it by unchecking the corresponding box in the left panel, just above the detection preview. You can reactivate it at any time.

Deleting a detection
If you want to permanently delete this detection with no option to undo, click “Delete Track.”

To add a new detection manually: In the menu bar at the top left of the screen, you can choose the type of detection you want to add:
License plate detection
Face detection
Custom detection, which you can adjust to match your object’s shape
➜ When creating a manual detection, make sure to move it along with your object’s motion in the video

Saving & reprocessing your file You can save the adjustments you’ve made to access them later, or reprocess the media to apply your changes.

Last updated