> For the complete documentation index, see [llms.txt](https://doc-op.blurit.io/llms.txt). Markdown versions of documentation pages are available by appending `.md` to page URLs; this page is available as [Markdown](https://doc-op.blurit.io/2.15.0/blurit-on-premise/usage/manager-webapp/tasks/using-the-redact-tool.md).
# Using The Redact Tool
The Redact Tool allows you to access all detections within your media (image or video) so you can adjust, add, or remove them as needed — all while staying within your local environment.
### Access
Once your file (image or video) has been processed, you can edit the detections by clicking on this icon to access the redact tool.
Edit button
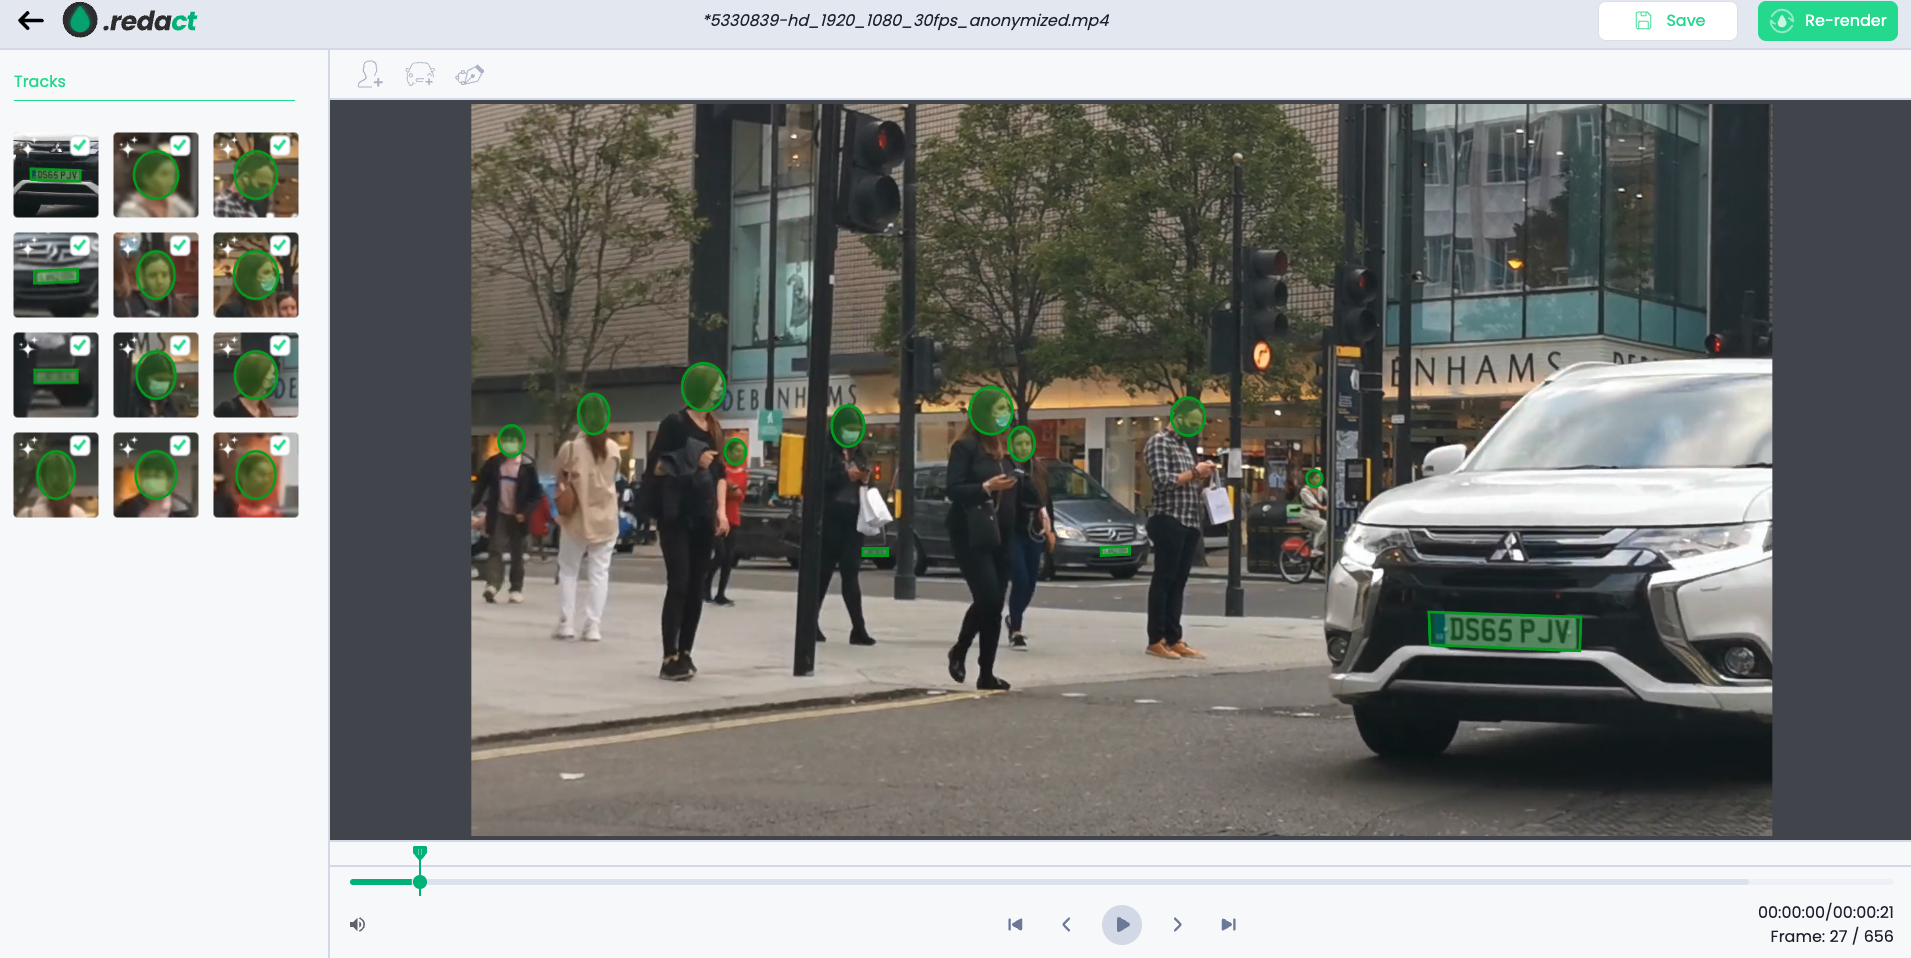
Once done, your media will appear along with all the detected elements.
Redact Tool
#### **Optimized preview**
Depending on the file size or its original format, the Redact Tool may display an **optimized version** in the interface for smoother editing and preview. The final processed result always keeps the **original format**; the optimized version is used for preview only.
Optimized video switch
### Detections
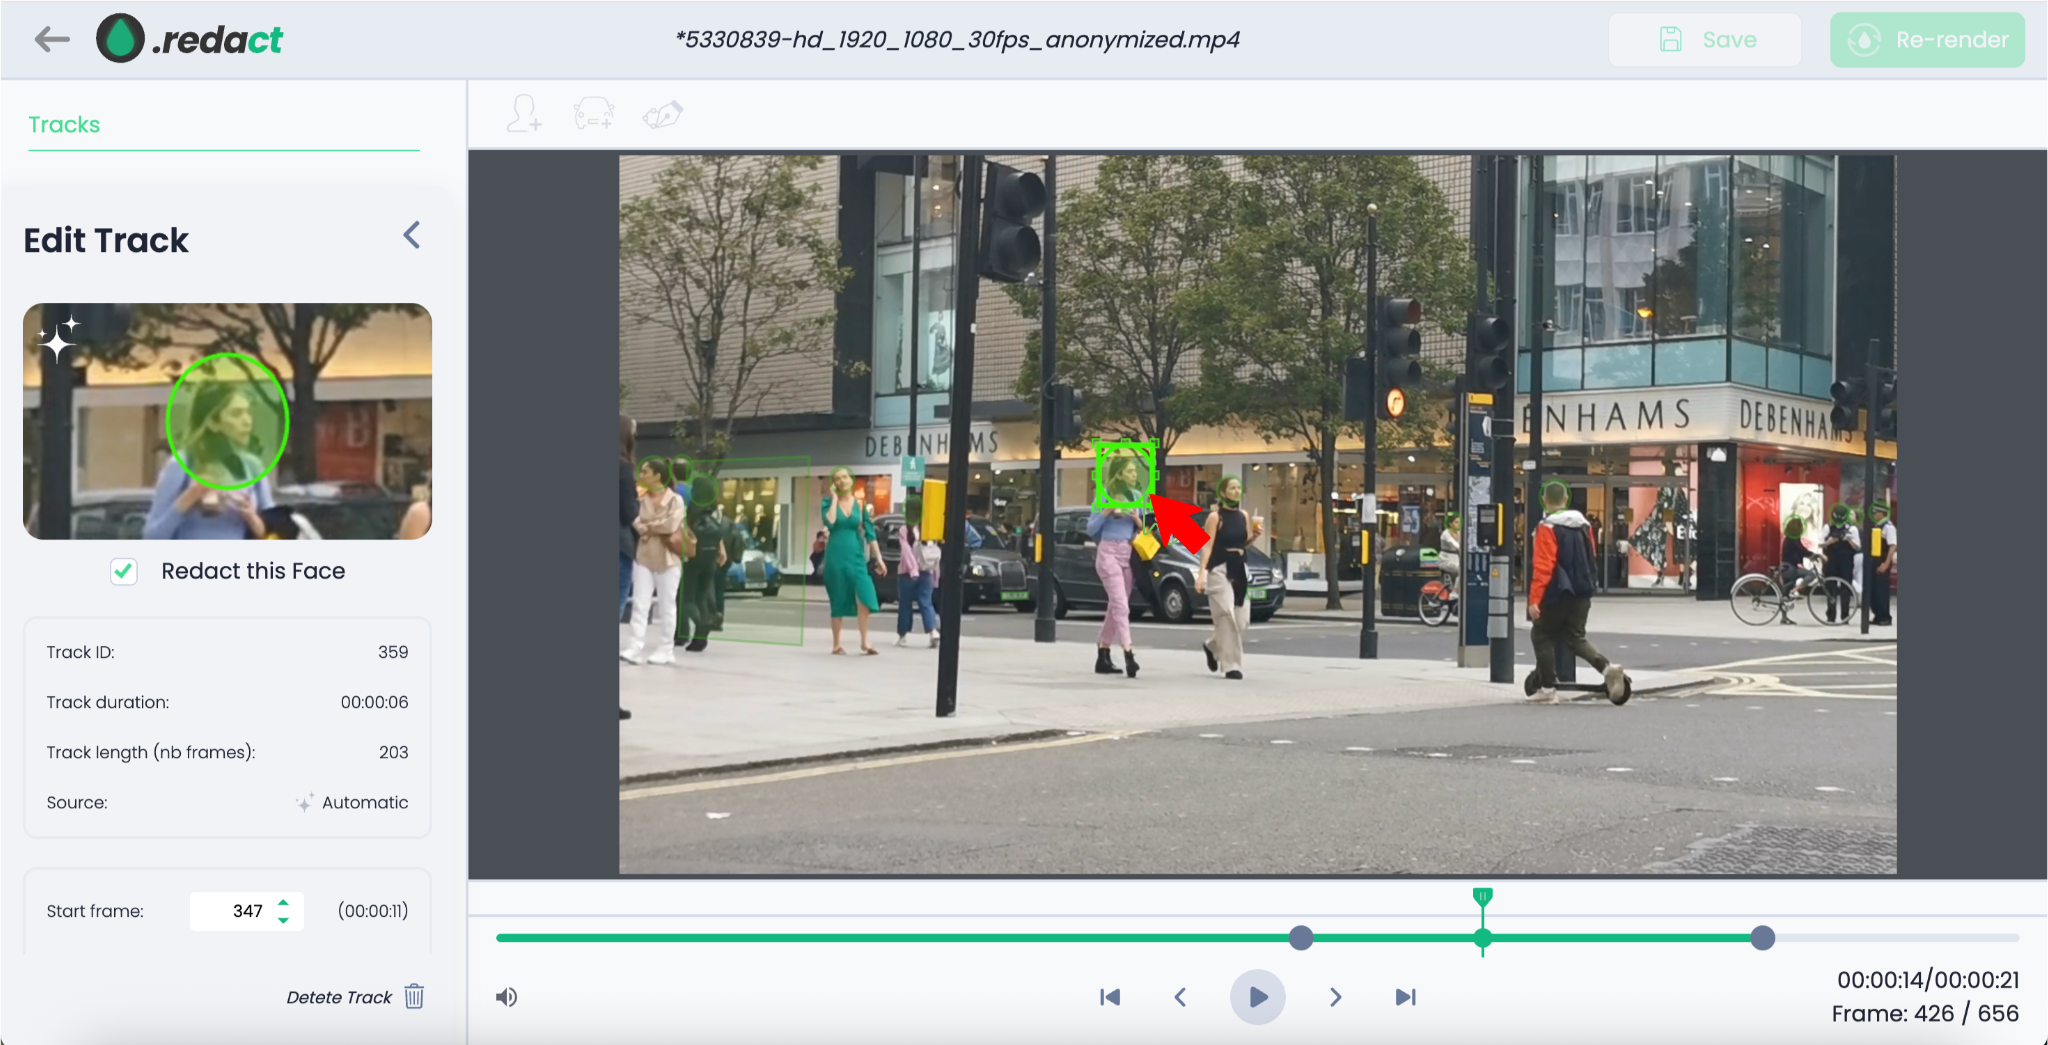
#### Adjusting a detection
Click on the detection of your choice. You can resize or move it on the frame as needed.
Adjusting a detection
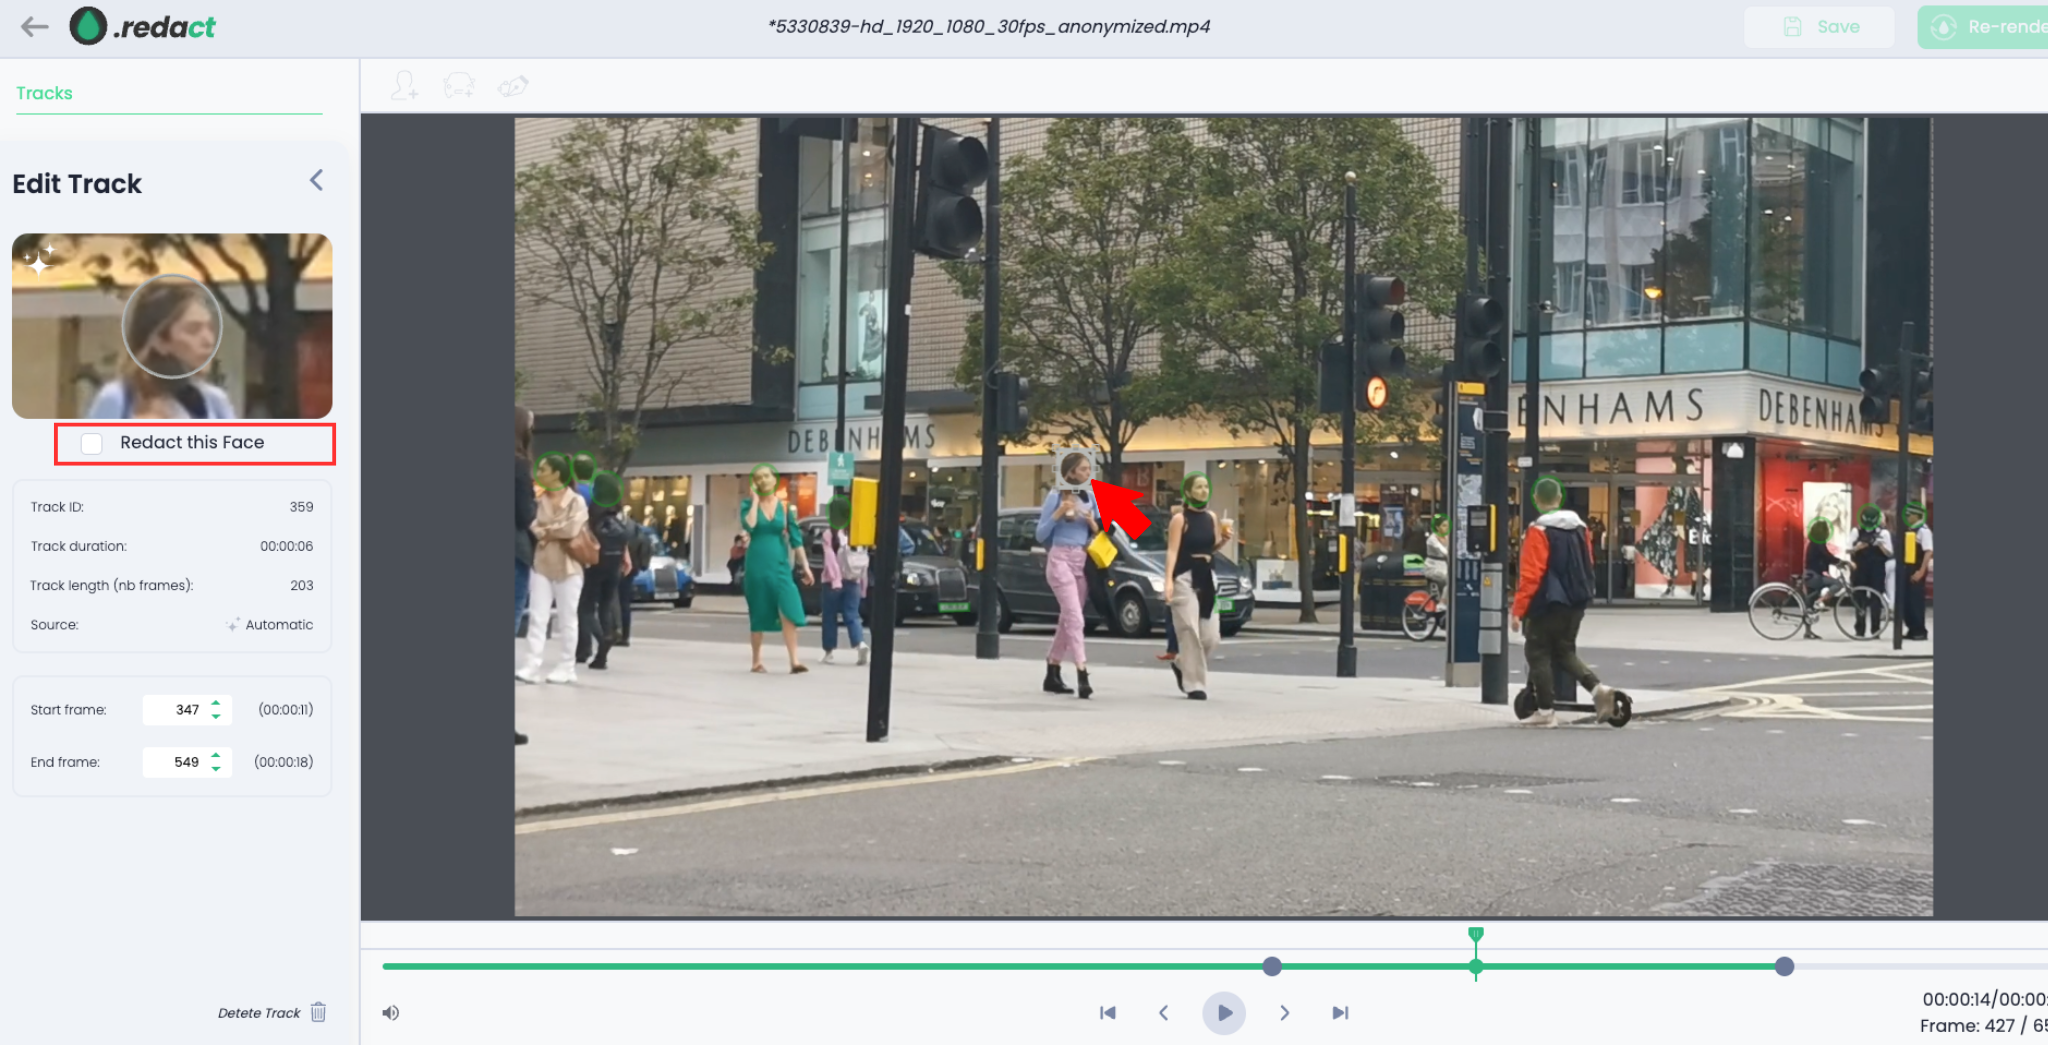
#### Deactivating a detection
Click on the detection to turn it from green to gray. It will **no longer be applied** to the image or video. You can also deactivate it by unchecking the corresponding box in the left panel, just above the detection preview. You can **reactivate it at any time**.
Deactivating a detection
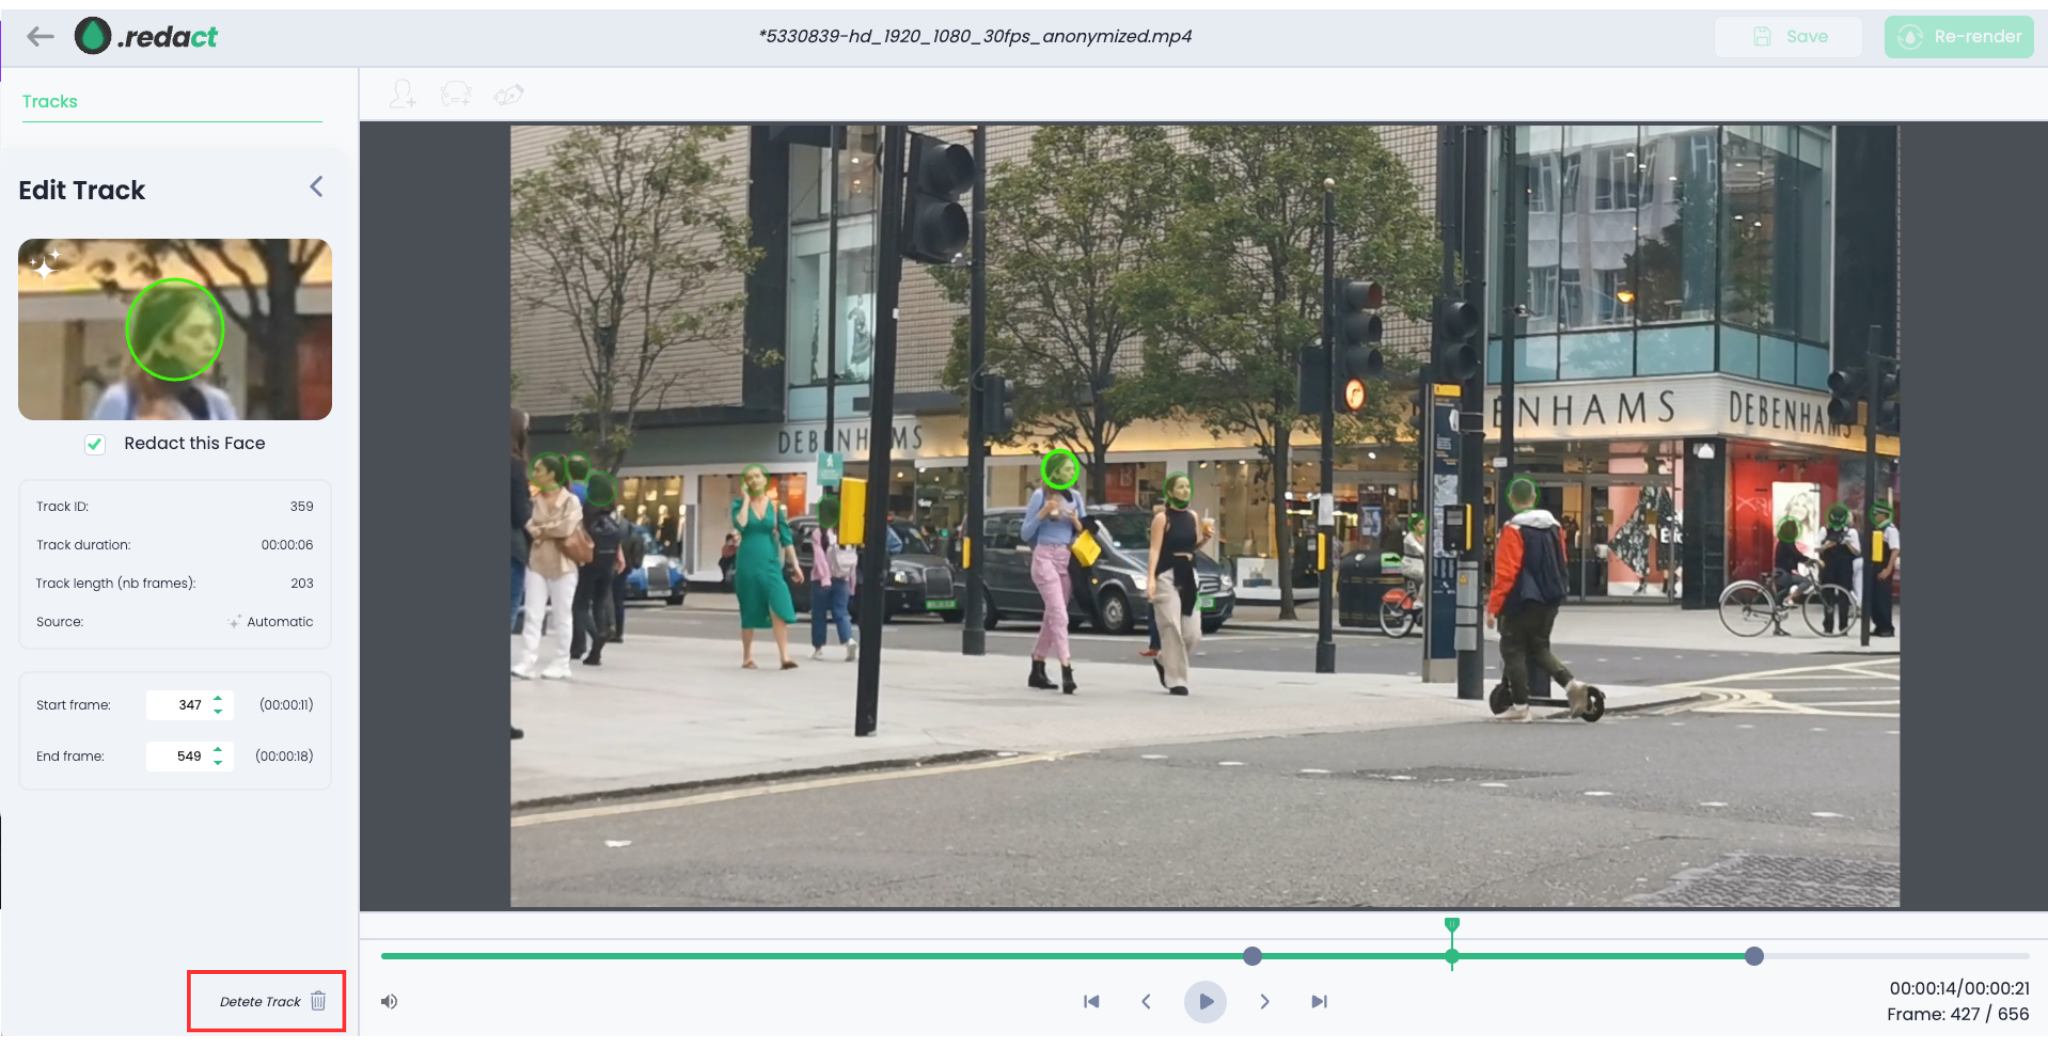
#### Deleting a detection
If you want to permanently delete this detection with no option to undo, click **Delete Track**.
Deleting a detection
#### Add a new detection manually
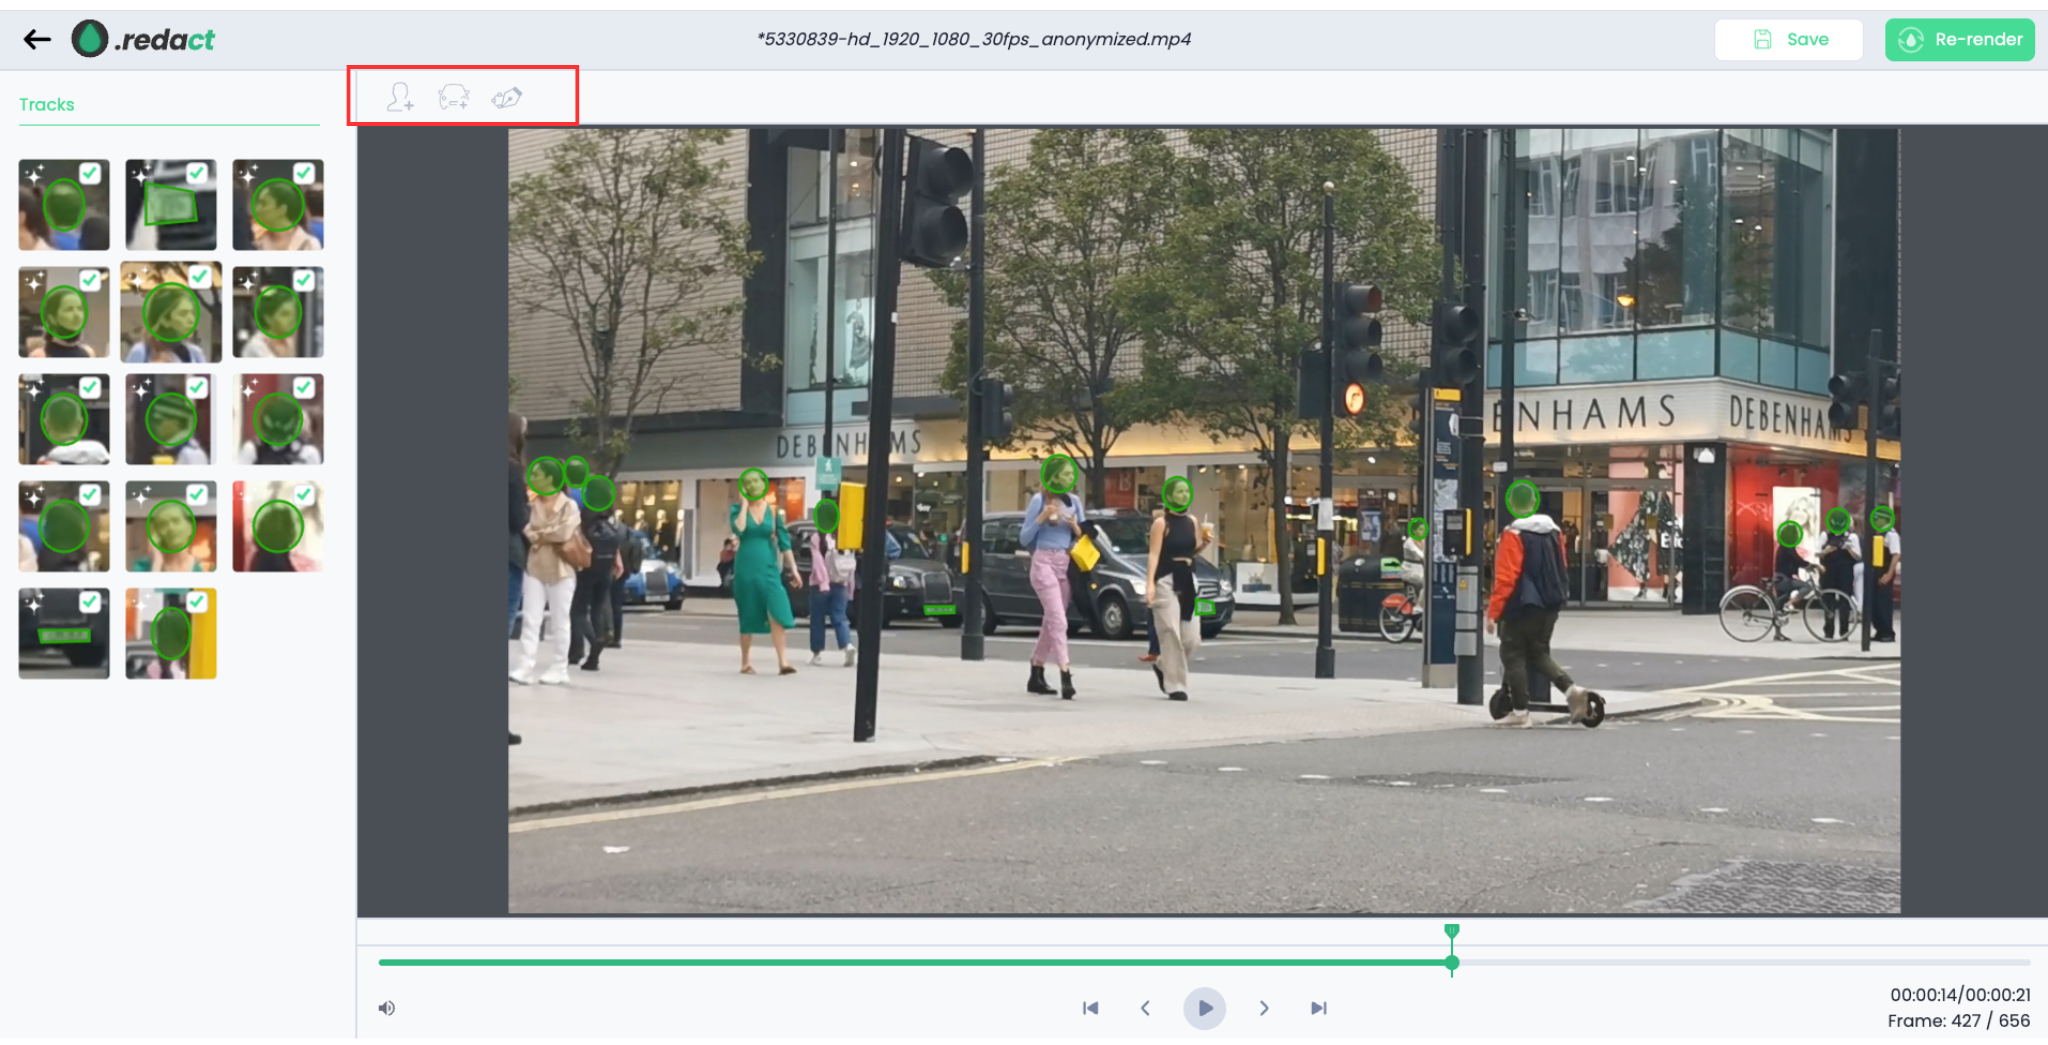
In the menu bar at the top left of the screen, you can choose the type of detection you want to add:
* License plate detection
* Face detection
* Custom detection, which you can adjust to match your object’s shape
➜ When creating a manual detection, make sure to **move it along with your object’s motion in the video**
Add a detection manually
### Saving & reprocessing your file
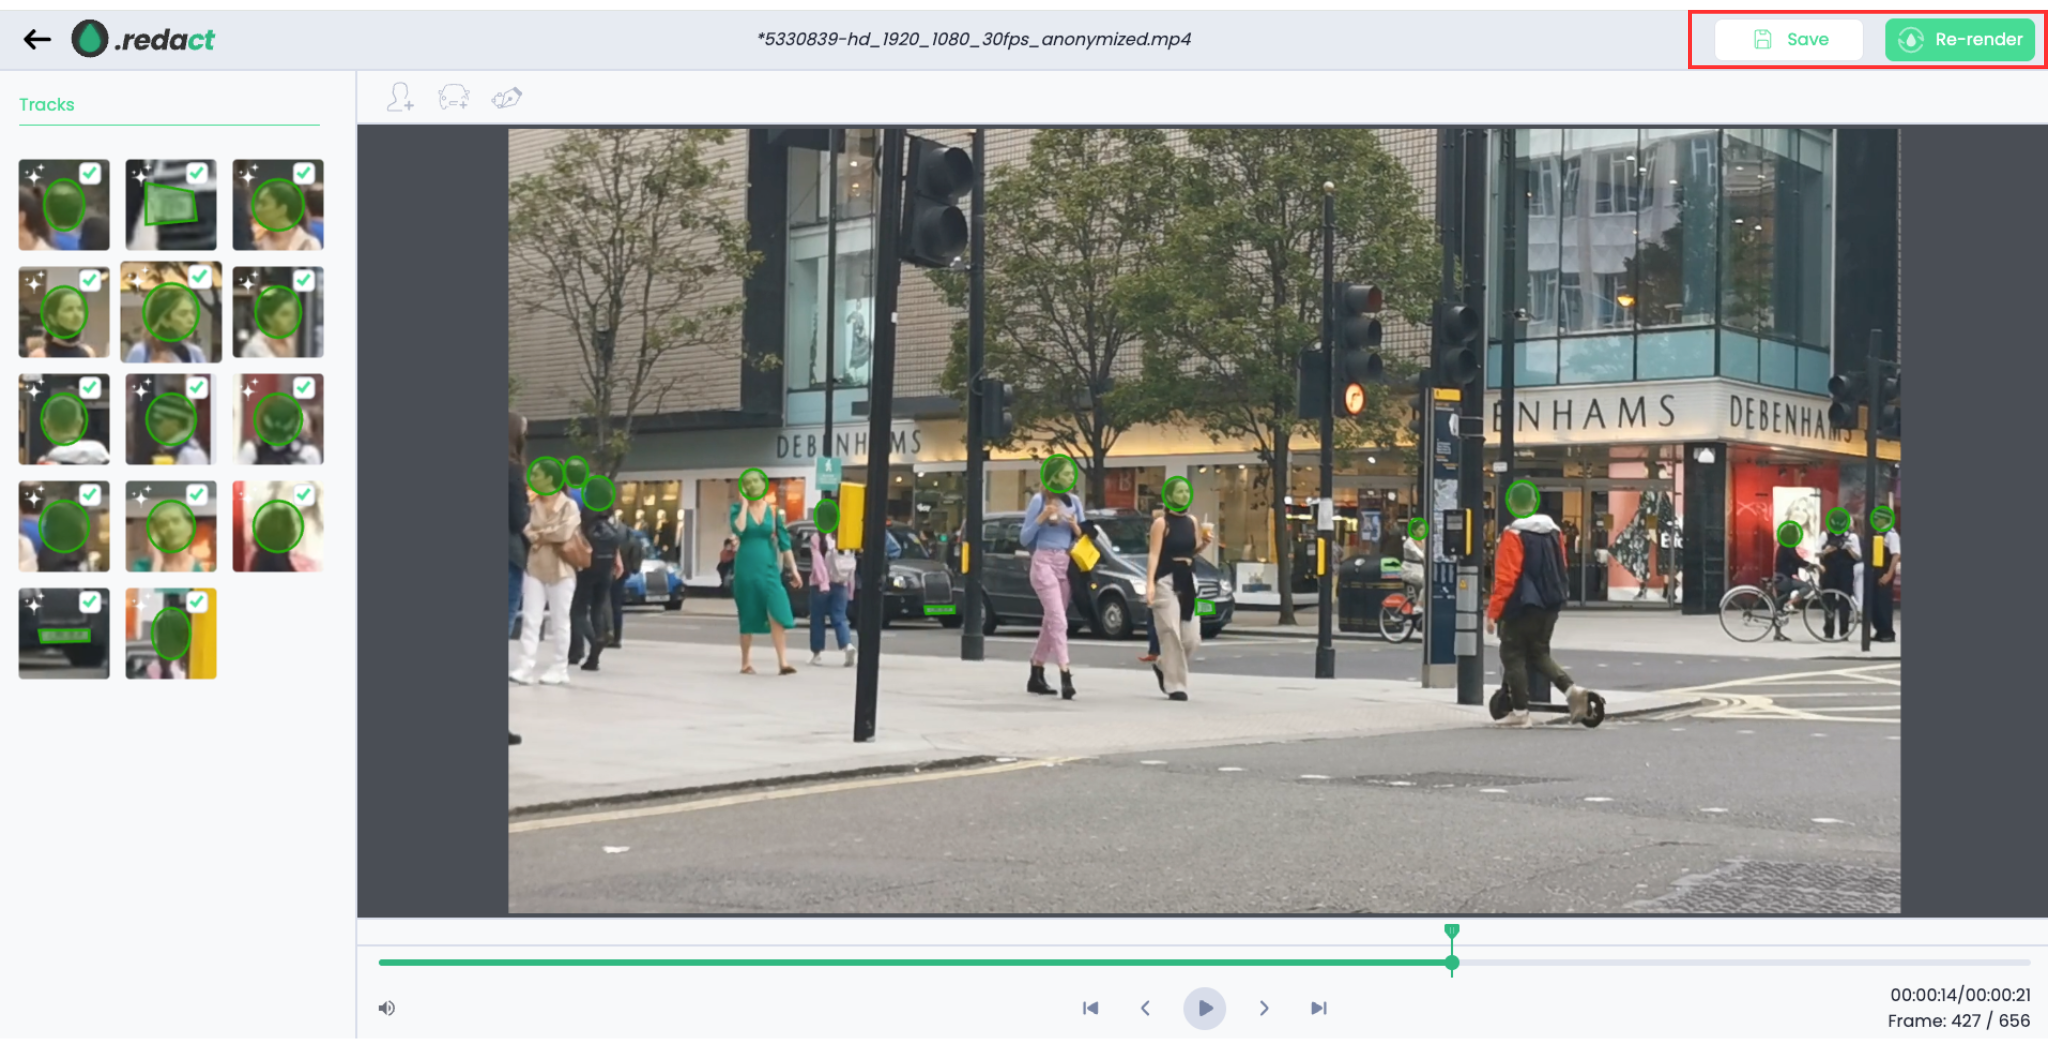
You can save the adjustments you’ve made to access them later, or reprocess the media to apply your changes.